


Why Mini Split Systems Are Taking Over Home Cooling
Mini split AC installation can save homeowners 40-50% on monthly energy costs compared to traditional HVAC systems. Here's what you need to know:
- DIY-friendly: Many steps can be done by handy homeowners
- Time required: 1 full day for single-zone systems
- Professional help needed: Electrical connections and refrigerant handling
- Tools required: Basic tools plus specialized HVAC equipment
- Permits: Check local codes before starting
Think you're stuck with expensive contractor quotes ranging from $3,900-$4,600 for a unit that costs $900-$1,200? Many homeowners are finding that ductless mini split installation is more manageable than they expected. These systems work without ductwork—just an indoor air handler connected to an outdoor condenser through a small 3-inch hole in your wall. No major renovations needed.
The reality? While you can handle much of the installation yourself, some steps require professional help for safety and legal reasons. We'll show you exactly which parts you can tackle and when to call in the pros.

Before You Begin: Planning Your Mini Split Project
Diving into a mini split AC installation without a plan is like baking a cake without a recipe—you might end up with a mess. A ductless mini split system is refreshingly simple in concept. An outdoor unit (the muscle) connects to one or more indoor units (the brains) through a small conduit carrying refrigerant lines, electrical wiring, and a drain line. That's it—no massive renovation required.
Why are these systems taking over? Traditional HVAC systems can lose up to 25% of their treated air through leaky ducts. Ductless systems eliminate this waste, helping homeowners save 40-50% on their monthly energy costs. The benefits go beyond your wallet. These systems offer zoned cooling and heating, ending family thermostat wars. Dad can keep his office at a crisp 68 degrees while Mom enjoys a warmer 72 in the living room. Plus, they're whisper-quiet, operating at just 40-65 decibels compared to the 90-100 decibels of traditional units.
Single-zone systems are perfect for one room, while multi-zone systems can handle up to eight indoor units with one outdoor compressor, making whole-home comfort achievable. Sizing matters big time. Your system's BTU output needs to match your space. Too small, and it won't cool effectively; too large, and you'll waste energy. Proper calculation considers square footage, insulation, ceiling height, and sun exposure.
For a deeper dive, check our guide on Ductless AC System Benefits.
Key Considerations Before You Start
Before drilling holes, let's cover the must-know details. Electrical requirements are non-negotiable. Your mini split needs a dedicated 20-amp circuit for safe operation. If you're not comfortable with electrical systems, this is a job for a licensed electrician.
Unit placement requires strategic thinking. Your indoor unit needs a strong wall that can support its weight, with adequate clearance for airflow. The outdoor unit needs a level surface with 12-24 inches of clearance on all sides to breathe properly.
Here's a big one: manufacturer warranties. Some manufacturers only honor their warranty if a licensed HVAC contractor performs the installation. A self-install could void your coverage, so always read the fine print. Local codes and permits are also crucial for safety and proper installation. A quick call to your local building department can clarify what's required. It's much easier to get permits upfront than to deal with violations later.
For detailed warranty information in areas like Huntington Beach, visit our Warranty information page.
Gearing Up: Tools, Materials, and Safety
Now it's time to gather everything for your mini split AC installation. Proper preparation is key to avoiding mid-project headaches.

Let's start with the basics. Your drill and a hole saw (2-inch to 3.5-inch) are essential for creating the opening in your wall. A level is absolutely critical—an unlevel indoor unit won't drain properly. You'll also need a set of wrenches, including a torque wrench for precise connections, a stud finder to locate strong mounting points, and wire strippers for electrical work.
Things get more specialized from here. A vacuum pump is essential for removing air and moisture from the refrigerant lines. Pair it with a micron gauge for accuracy and a manifold gauge set for pressure checks. If your unit doesn't have pre-flared lines, you'll need a flare tool kit.
For safety and access, have safety glasses and gloves on hand. A sturdy ladder is fine for single-story jobs, but scaffolding offers better stability for higher work.
On the materials side, your mounting bracket typically comes with the indoor unit. The line set—pre-insulated copper pipes, wires, and drain tubing—is the system's lifeline. Some DIY-friendly units come with pre-charged lines and quick-connect fittings, which simplifies the process. You'll also need condensate drain line, proper gauge electrical wiring, and a line set cover to keep the exterior looking professional. For the outdoor unit, grab vibration pads, a concrete pad or wall brackets, and spray foam sealant to seal the wall penetration.
Essential Safety Precautions
Let's talk safety, because a DIY victory shouldn't become a cautionary tale.
- Power Safety: Always turn off power at your main breaker panel before touching any electrical components. Double-check with a voltage tester.
- Personal Protective Equipment: Safety glasses protect against debris and potential refrigerant splashes. Gloves are essential when handling copper lines or electrical connections.
- Working at Height: Ensure your ladder is stable and level. For higher installations, scaffolding provides much better stability.
- Refrigerant Handling: This substance is under high pressure and can cause frostbite. Releasing refrigerant into the atmosphere is also environmentally harmful and illegal under EPA regulations. Unless you have EPA 608 certification, stick to pre-charged or quick-connect systems.
- Electrical Work: If you're not comfortable with wiring, call a licensed electrician. Incorrect wiring is a fire hazard.
Before drilling, check for hidden pipes or wires. Most importantly, read your unit's manual thoroughly. For additional guidance, check out our How To Install a Mini-Split Air Conditioner guide.
The Step-by-Step Guide to Mini Split AC Installation
Now for the exciting part—putting it all together! This section covers the physical mini split AC installation of your units and connecting them. Precision and patience are your best friends here.

Step 1: Select the Perfect Location for Each Unit
Choosing the right spot for your units makes all the difference. For your indoor unit, mount the air handler high on the wall—at least six feet from the floor with proper clearance from the ceiling. This allows cool air to circulate naturally. Your indoor unit weighs 40-50 pounds, so mount the bracket directly into wall studs. If studs aren't available, use heavy-duty drywall anchors. Keep the unit away from heat sources like lamps, and ensure no furniture will block airflow. Installing on an exterior wall simplifies drilling and routing the line set.
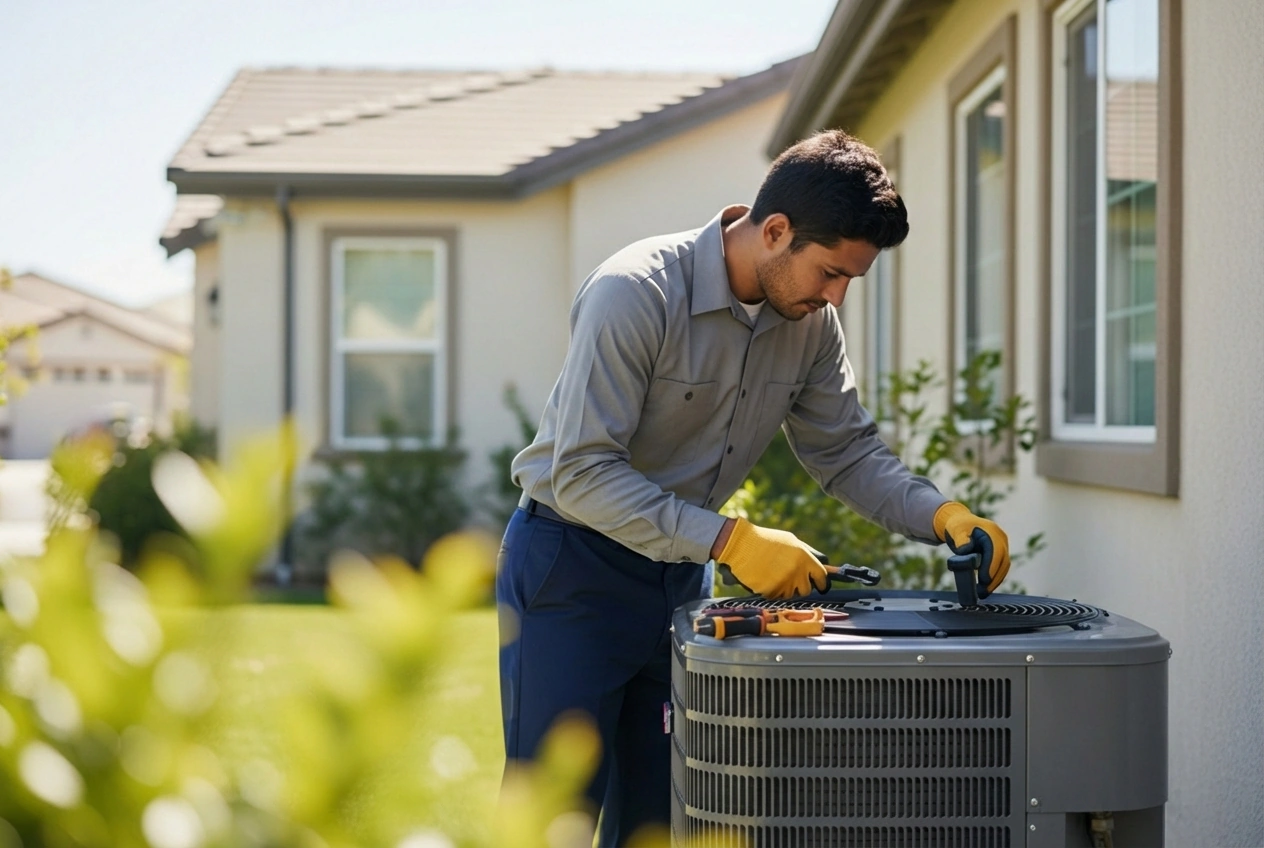
For your outdoor unit, find a spot with plenty of space—at least 12-24 inches of clearance on all sides and above. This is essential for proper airflow. Consider noise when picking the spot; while mini splits are quiet, placing the unit under a bedroom window isn't ideal. A stable, level surface like a concrete pad is non-negotiable. It keeps the unit steady and protected. Also, ensure the location is accessible for future maintenance.
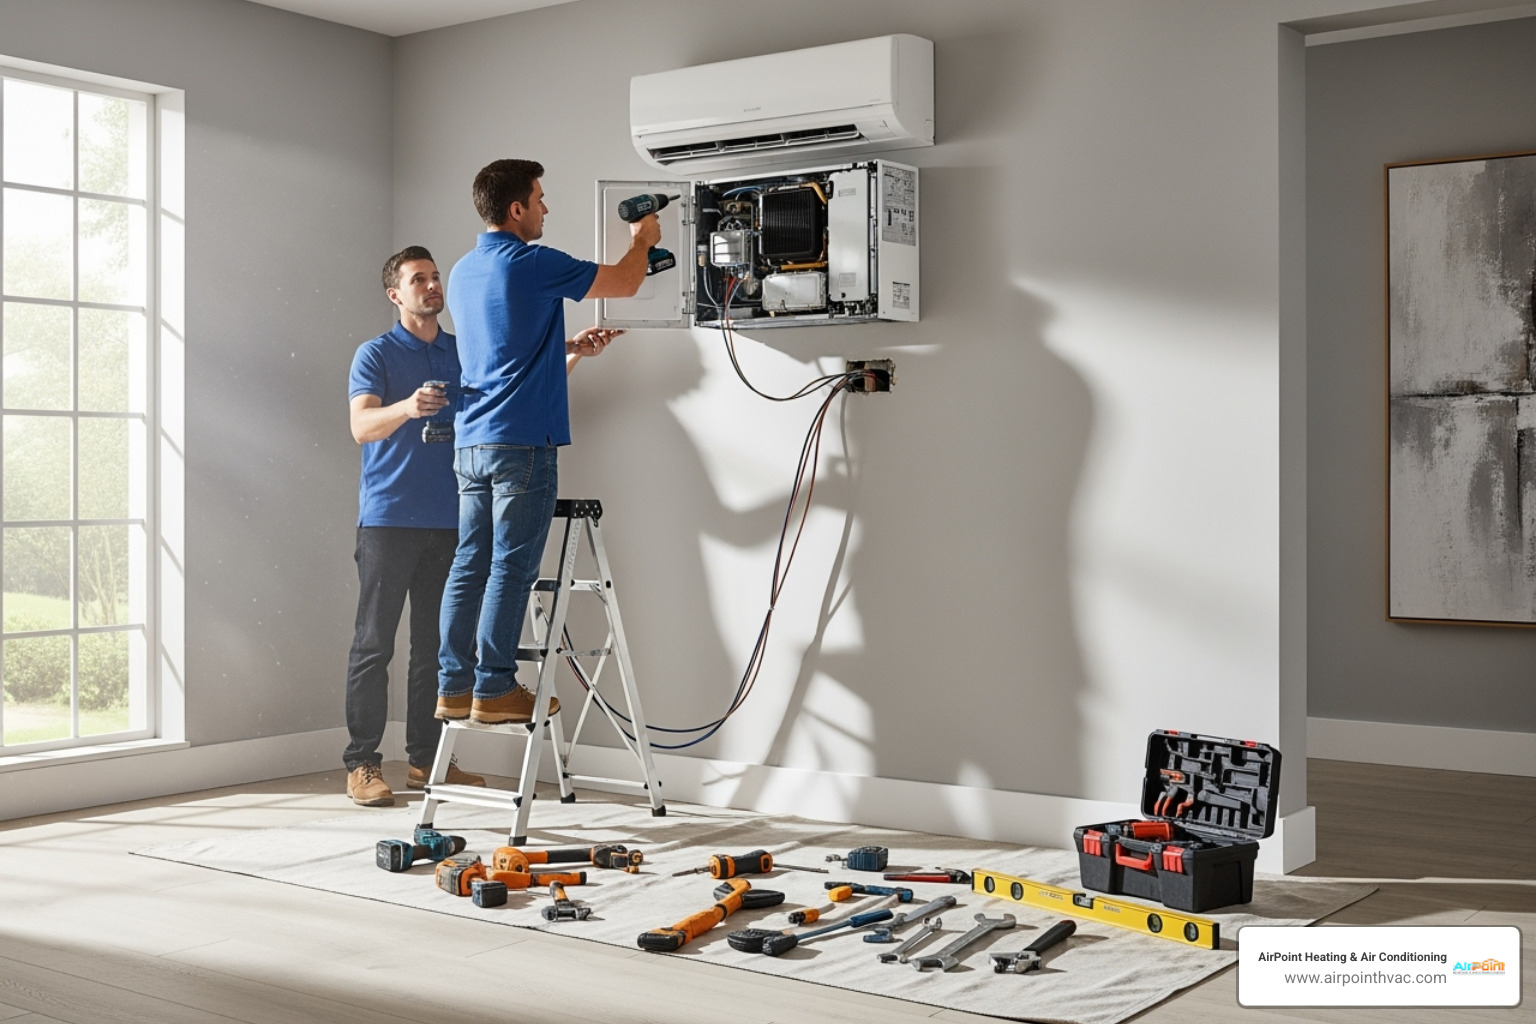
Step 2: Mount the Indoor Air Handler
Start by installing the mounting plate. Use a stud finder to locate wall studs and position the plate at the recommended height. Your level is critical here to ensure the plate is perfectly straight. Secure it into the studs with the provided screws.
Next, drill the hole for the line set. Use the template to mark the center point. Angle the hole with a slight downward slope (5-10 degrees) toward the outside. This ensures the condensate drain works with gravity, preventing water buildup. Use your 2- to 3.5-inch hole saw and drill from the inside out. Be gentle when you route the lines through this hole to avoid kinking the copper.
Finally, mount the indoor unit by carefully lifting it onto the mounting plate. It should click or lock into place. Double-check that it's firmly seated and level.
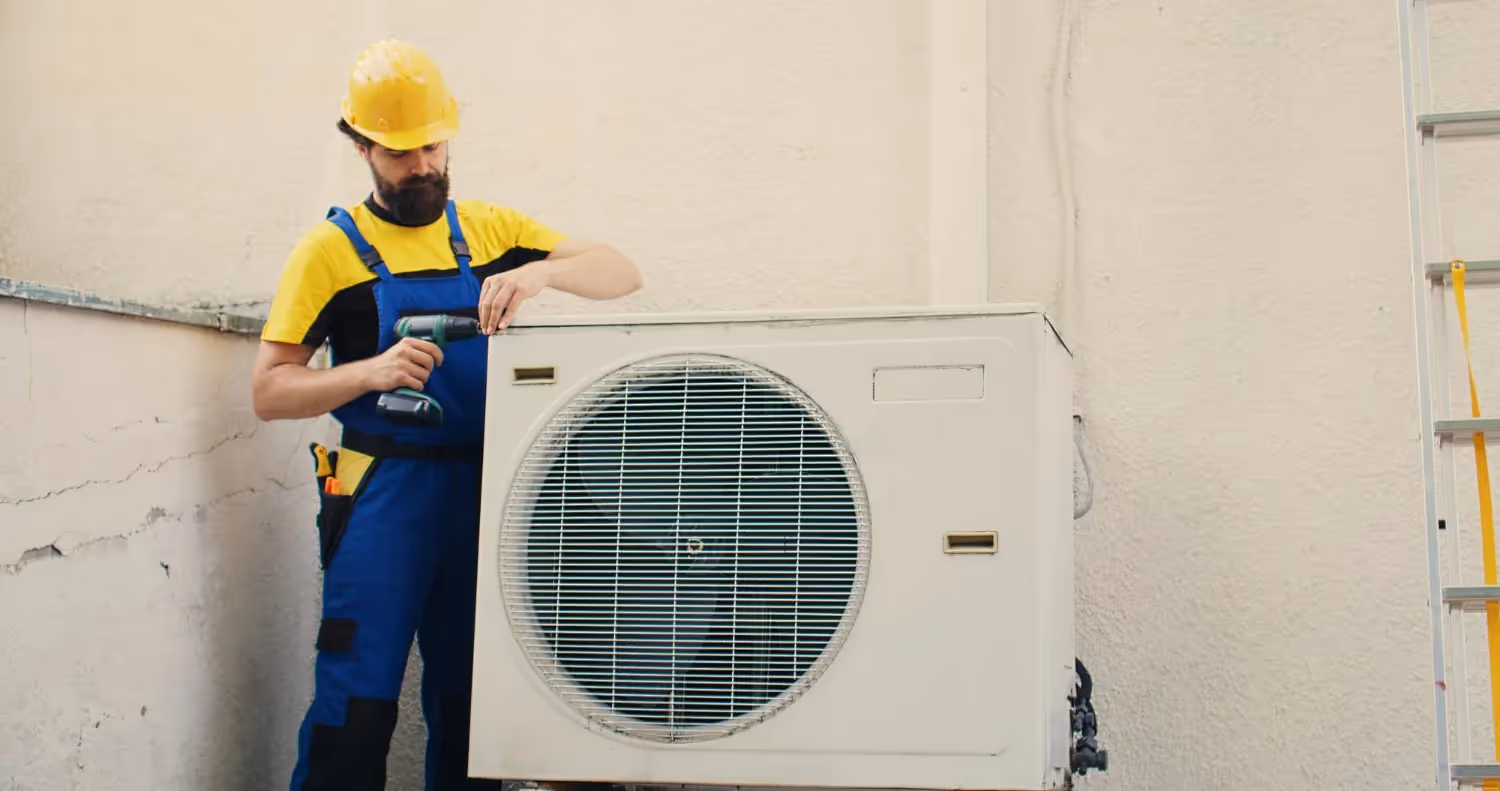
Step 3: Install the Outdoor Condenser
The outdoor unit is the powerhouse of your system and needs a solid foundation.

Prepare the base first. For ground-level, a level concrete pad is essential. For wall-mounting, install a sturdy bracket system engineered to handle the condenser's weight. Position the unit carefully on your prepared base. Secure the unit using the provided bolts and nuts, typically through rubber feet or vibration pads. Use your level one more time to ensure the top of the unit is perfectly level.
Step 4: Connect the Lines and Tubing
This is the most delicate part of your mini split AC installation. Start by routing the line set from the wall to the outdoor condenser. Guide the bundle of refrigerant lines, communication wire, and drain tubing carefully. When bending the copper lines, use gentle curves, not sharp kinks.
Connecting refrigerant lines depends on your system. For a pre-charged quick-connect system, align the lines to the ports and tighten them with a torque wrench to prevent leaks. For traditional systems, you'll need to flare the copper lines and connect them to both units. This requires a flare tool and precise technique. After connecting, the system must be pressure tested with nitrogen and vacuum purged by a professional.
Always leak check your work. Spray all connections with soapy water; bubbles indicate a leak. Connect the condensate drain from the indoor unit to a drainage point outside, ensuring a continuous downward slope. The communication wire allows the units to coordinate, so follow your manufacturer's wiring diagram precisely. Finally, wrap the bundle neatly with electrical tape and encase it in a line set cover for a clean look and protection from the elements.
The Critical Finish: When to Call the Pros
You've done an incredible job mounting your units and connecting the lines. But before you flip the switch, some crucial steps require a certified HVAC professional. This is where safety, legality, and your system's long-term health become paramount.
The Professional Touch for Your Mini Split AC Installation
For mini split AC installation projects without pre-charged, quick-connect lines, or if you want peace of mind, these final steps require professional expertise.
Pressure testing with nitrogen is like a physical exam for your system. A professional uses inert nitrogen gas to pressurize the lines, testing for even the tiniest leaks. If the pressure drops, it signals a leak that needs fixing before proceeding.
Vacuum purging the lines is absolutely critical. Any air or moisture left inside your refrigerant lines is poison to your mini split. A professional uses specialized vacuum pumps and micron gauges to pull a deep vacuum, removing every trace of air and moisture. They aim for levels below 500 microns, followed by a decay test to verify the system holds vacuum perfectly. Without this, moisture can form acids that corrode your system from the inside out, leading to compressor failure.
Releasing or charging refrigerant requires precision. Too little refrigerant and your system won't cool effectively; too much and you risk damaging the compressor. Professionals have the tools and experience to get this exactly right. Final electrical connections from your home's breaker panel to the outdoor unit must be handled by a licensed electrician to ensure safety and meet local codes.
For a comprehensive look at these steps, our Guide to Ductless Mini Split Installation provides additional insights.
Why Professional Help is Crucial for Some Steps
Certain steps require professional expertise for very good reasons—it's about safety, legality, and protecting your investment.
EPA regulations govern refrigerant handling. The Clean Air Act requires anyone working with refrigerants to hold EPA Section 608 certification. Accidentally venting refrigerant is bad for the environment and can result in fines up to $25,000 per violation.
High-voltage electrical work poses serious risks of fire, shock, or equipment damage if handled incorrectly. Licensed electricians ensure connections are safe and meet local codes, which is crucial for insurance coverage. System efficiency also depends on proper installation. An improperly installed system will run inefficiently, negating energy savings and leading to premature equipment failure.
Finally, warranty validation is a critical consideration. Many manufacturers state their warranty only applies when installation is performed by licensed HVAC professionals. A DIY installation might void your warranty, leaving you responsible for future repairs. Hiring a pro for these final steps ensures your hard work pays off.
Keeping it Cool: Maintenance and Common Pitfalls
Congratulations! Your mini split AC installation is complete. But getting your system running is just the beginning. To ensure long-term comfort, your mini split needs a little regular attention.

Even a perfect installation can face challenges if maintenance is ignored. Common issues like refrigerant leaks, improper drainage from clogged lines, or tripped breakers can often be traced back to a lack of care. Reduced airflow is the most common complaint, usually caused by dirty filters choking the unit. Dirty coils also make your system work harder while cooling less effectively. Water leaks from indoor units almost always trace back to a clogged drain line.
For professional help with these issues, our team provides comprehensive Mini Split AC Service in Cypress, CA and surrounding areas.
Ongoing Maintenance for Your Mini Split System
Regular maintenance isn't complicated and adds up to big benefits over time.
- Monthly filter cleaning is your most important job. During peak season, clean the washable filters every 30 days. Just pop them out, rinse with warm water, let them air dry completely, and slide them back in.
- Coil cleaning keeps your system breathing easy. The indoor evaporator coil can collect dust, while the outdoor condenser coil battles leaves and debris. A gentle wipe-down inside and a gentle rinse with a garden hose outside works wonders. Avoid high-pressure washers that can bend the delicate fins.
- Drain line maintenance prevents water leaks. Every few months, check that water is flowing freely from your condensate drain. A simple flush can clear minor blockages.
- Annual professional tune-ups are like a physical for your mini split. A trained technician will inspect refrigerant levels, test electrical connections, and perform a deep cleaning. This catches small issues before they become expensive headaches and is often required to keep warranties valid.
Think of maintenance as an investment. A well-maintained mini split can last 15-20 years while maintaining peak efficiency. Neglect it, and you might be shopping for a replacement in half that time.
Conclusion
We've walked through every step of mini split AC installation, a project that blends rewarding DIY work with essential professional expertise. You can handle mounting the units and connecting lines, but electrical and refrigerant work requires a licensed pro for safety, performance, and legality.
Federal tax credits and rebates for energy-efficient systems can make professional installation surprisingly affordable. These incentives for ductless mini-splits can often offset a significant portion of the labor cost.
A properly installed mini split will reward you with whisper-quiet operation, dramatically lower energy bills, and perfect zoned comfort for years to come.
For homeowners in Huntington Beach, Los Alamitos, or anywhere across Orange County and Southern California, professional installation protects your investment. At AirPoint Heating & Air Conditioning, our award-winning, family-owned business brings decades of experience to every project, backed by our 100% satisfaction guarantee.
Your mini split is designed to last 15-20 years with proper installation and maintenance. Whether you need help with a tricky step or want the entire mini split AC installation professionally managed, we're here to help.
Ready to enjoy the quiet, efficient comfort that only a properly installed mini split can provide? Contact us for expert mini split services and let's get your home perfectly comfortable!
Other Blogs
Latest Blog Posts
The Ultimate Guide to Spring AC Tune-Up

The Californian Guide to Inflation Reduction Act Savings
Ultimate Checklist for Annual HVAC Maintenance Value

Customer Testimonials


I recommend Air Point for your HVAC needs."